18 November 2014

TESTUDINARIA ELEPHANTIPES

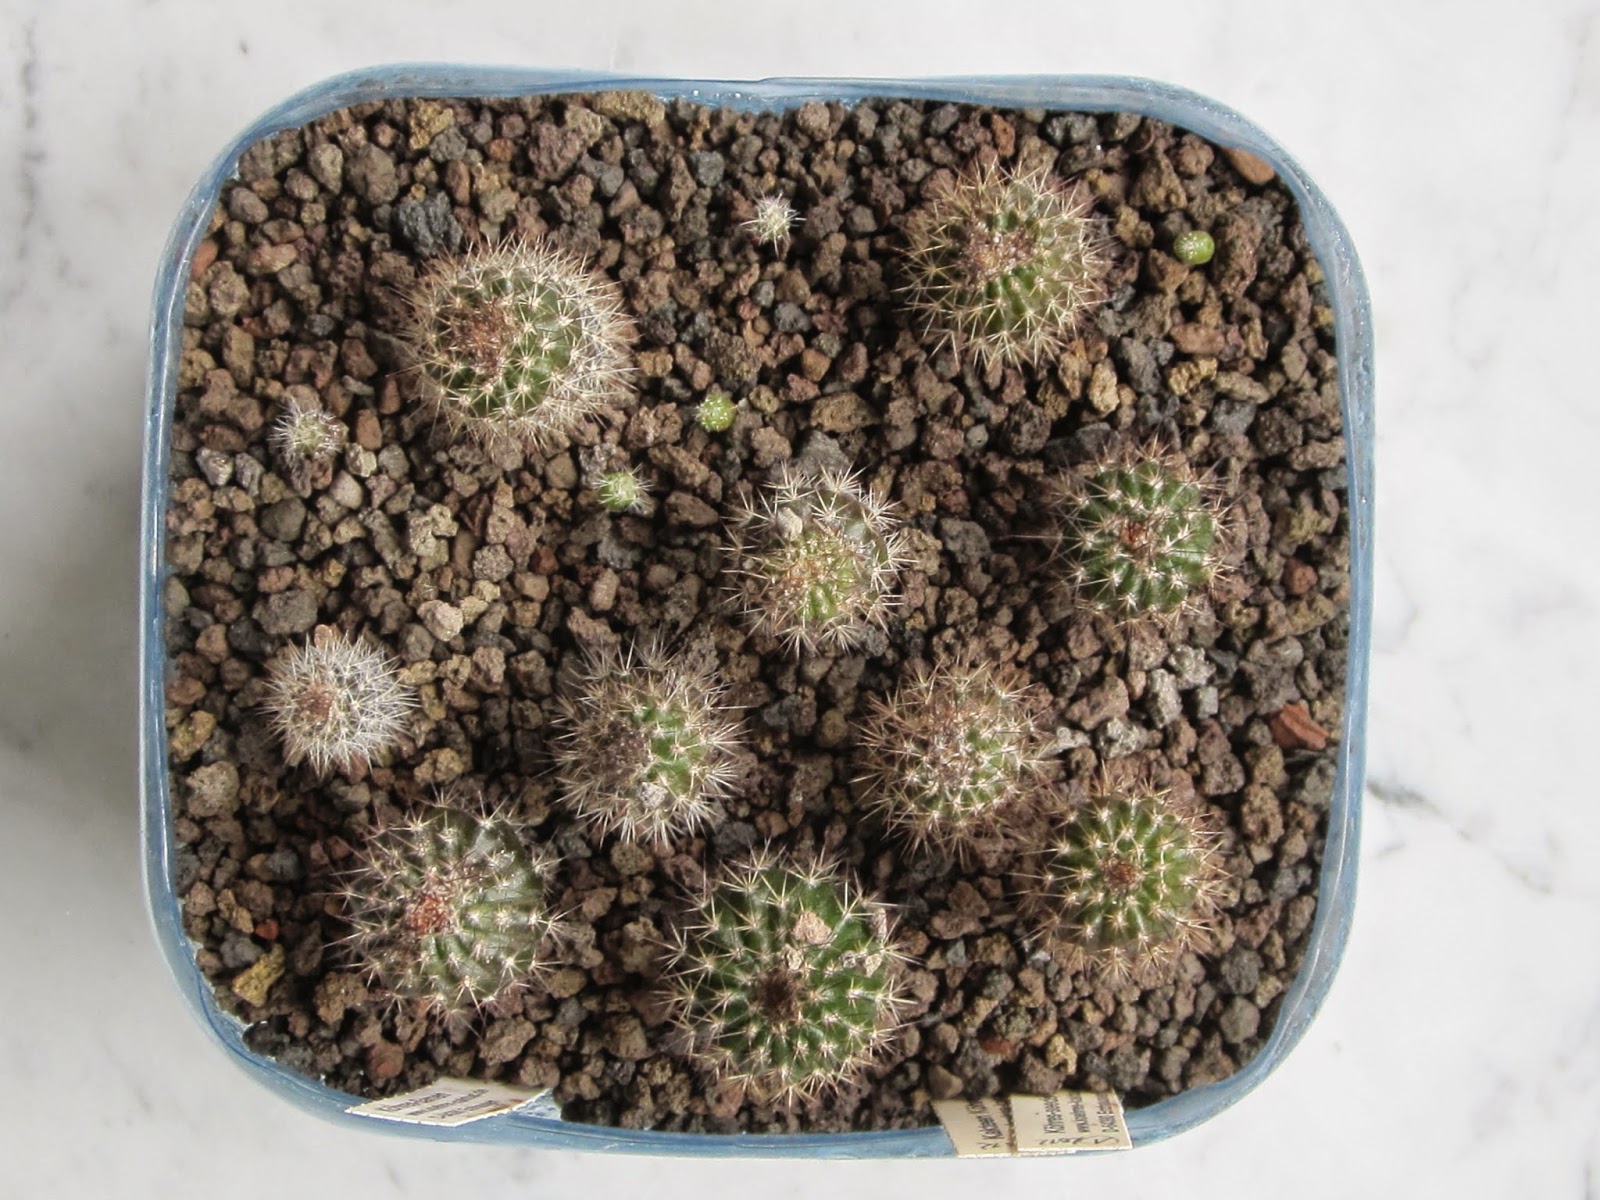
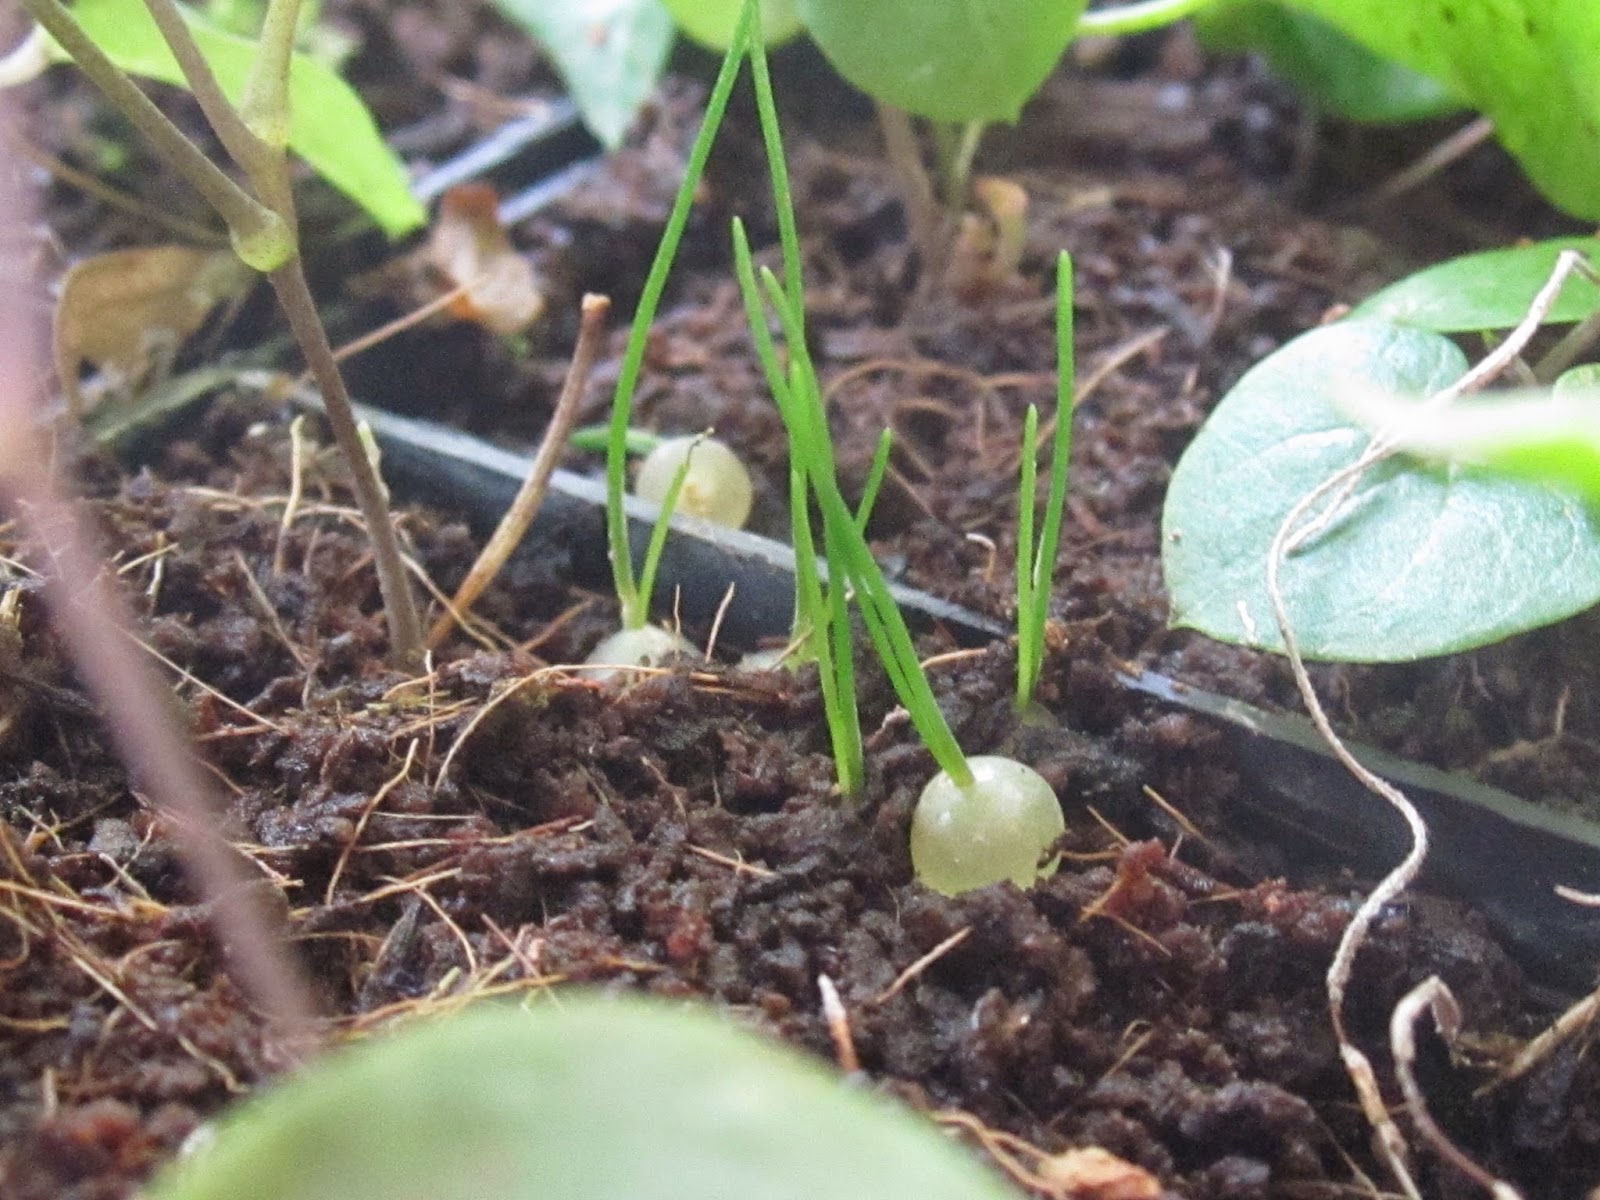
November 2014. These are the seedlings sown in March 2014. They grow and will grow the whole winter. I fertilize and water them and offer as much sun and warmth as possible.


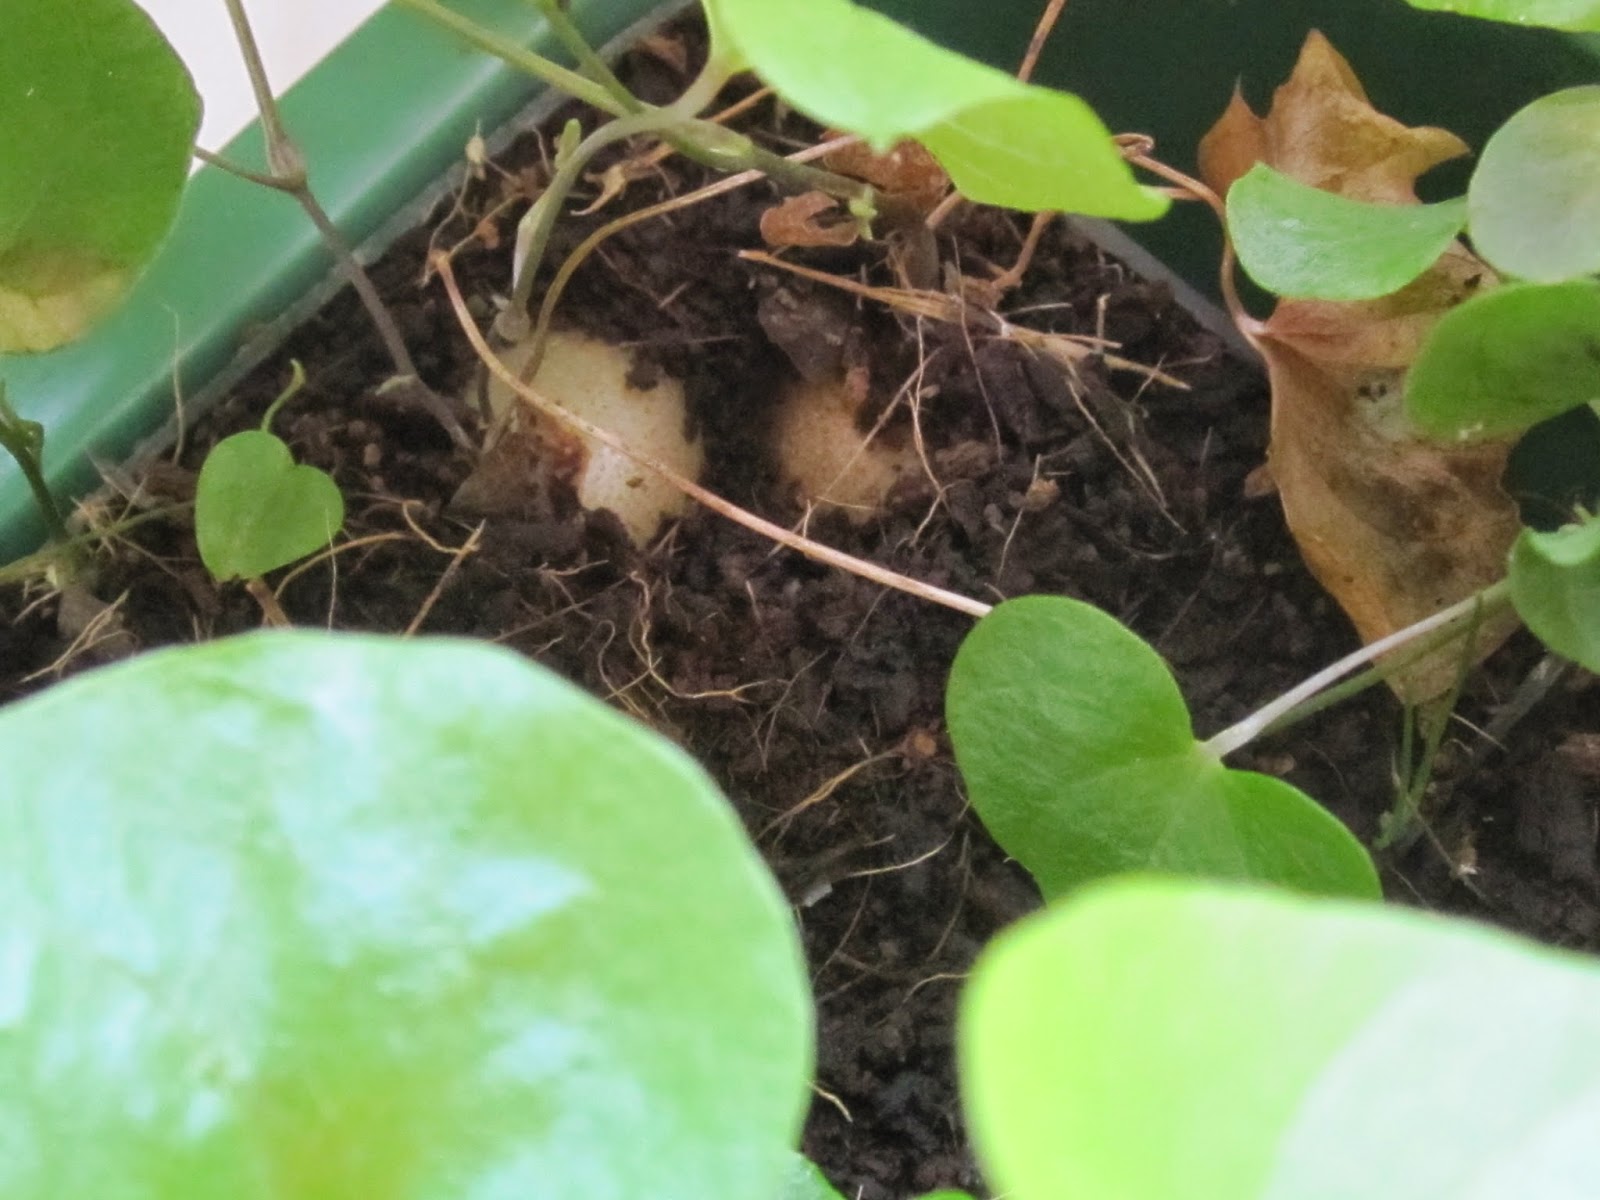
Above you can see the caudex - storing the sugar as starch - forming underground.


And here above you can see some seedlings of SCHIZOBASIS INTRICATA self-sown from seed flying in from a nearby standing plant of SCHIZOBASIS INTRICATA.

SOWING MAY 2014

We do have November now. This is how the seedlings sown in May 2014 do look like.

I fertilize and water them the whole winter and give as much sun and warmth as possible.


SOWING 2014

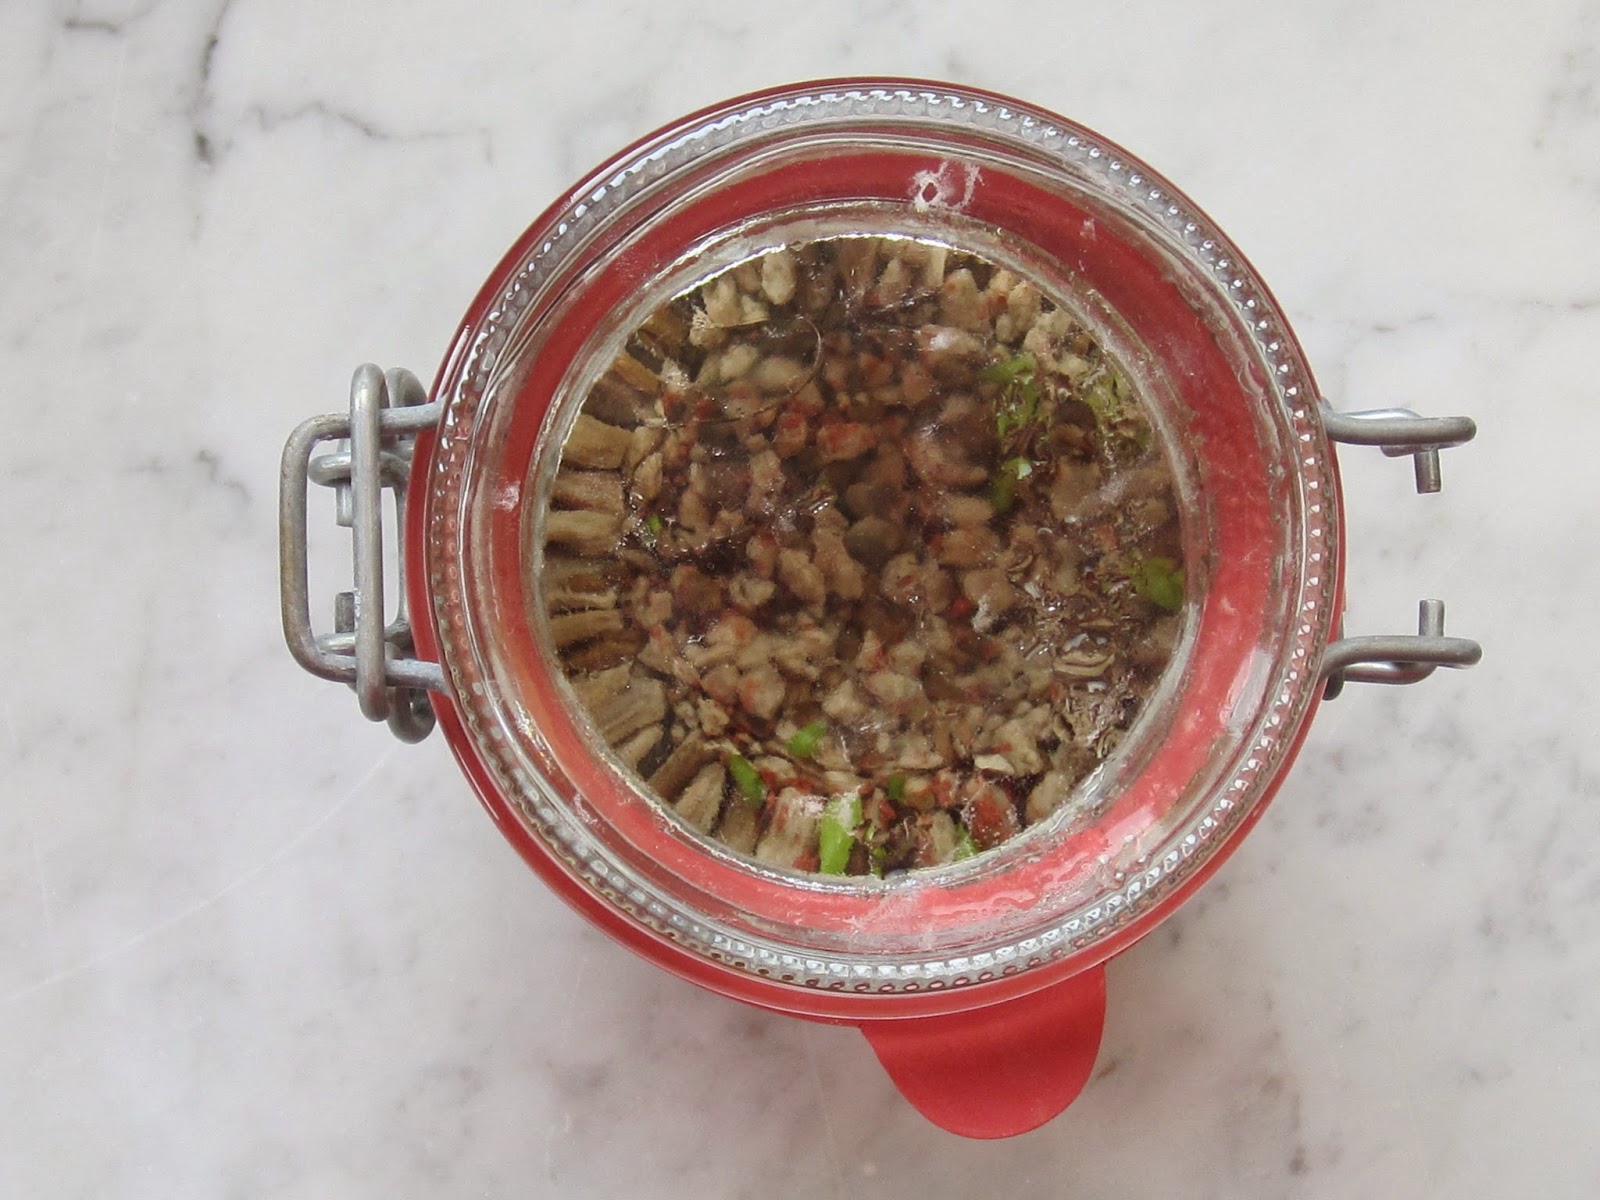
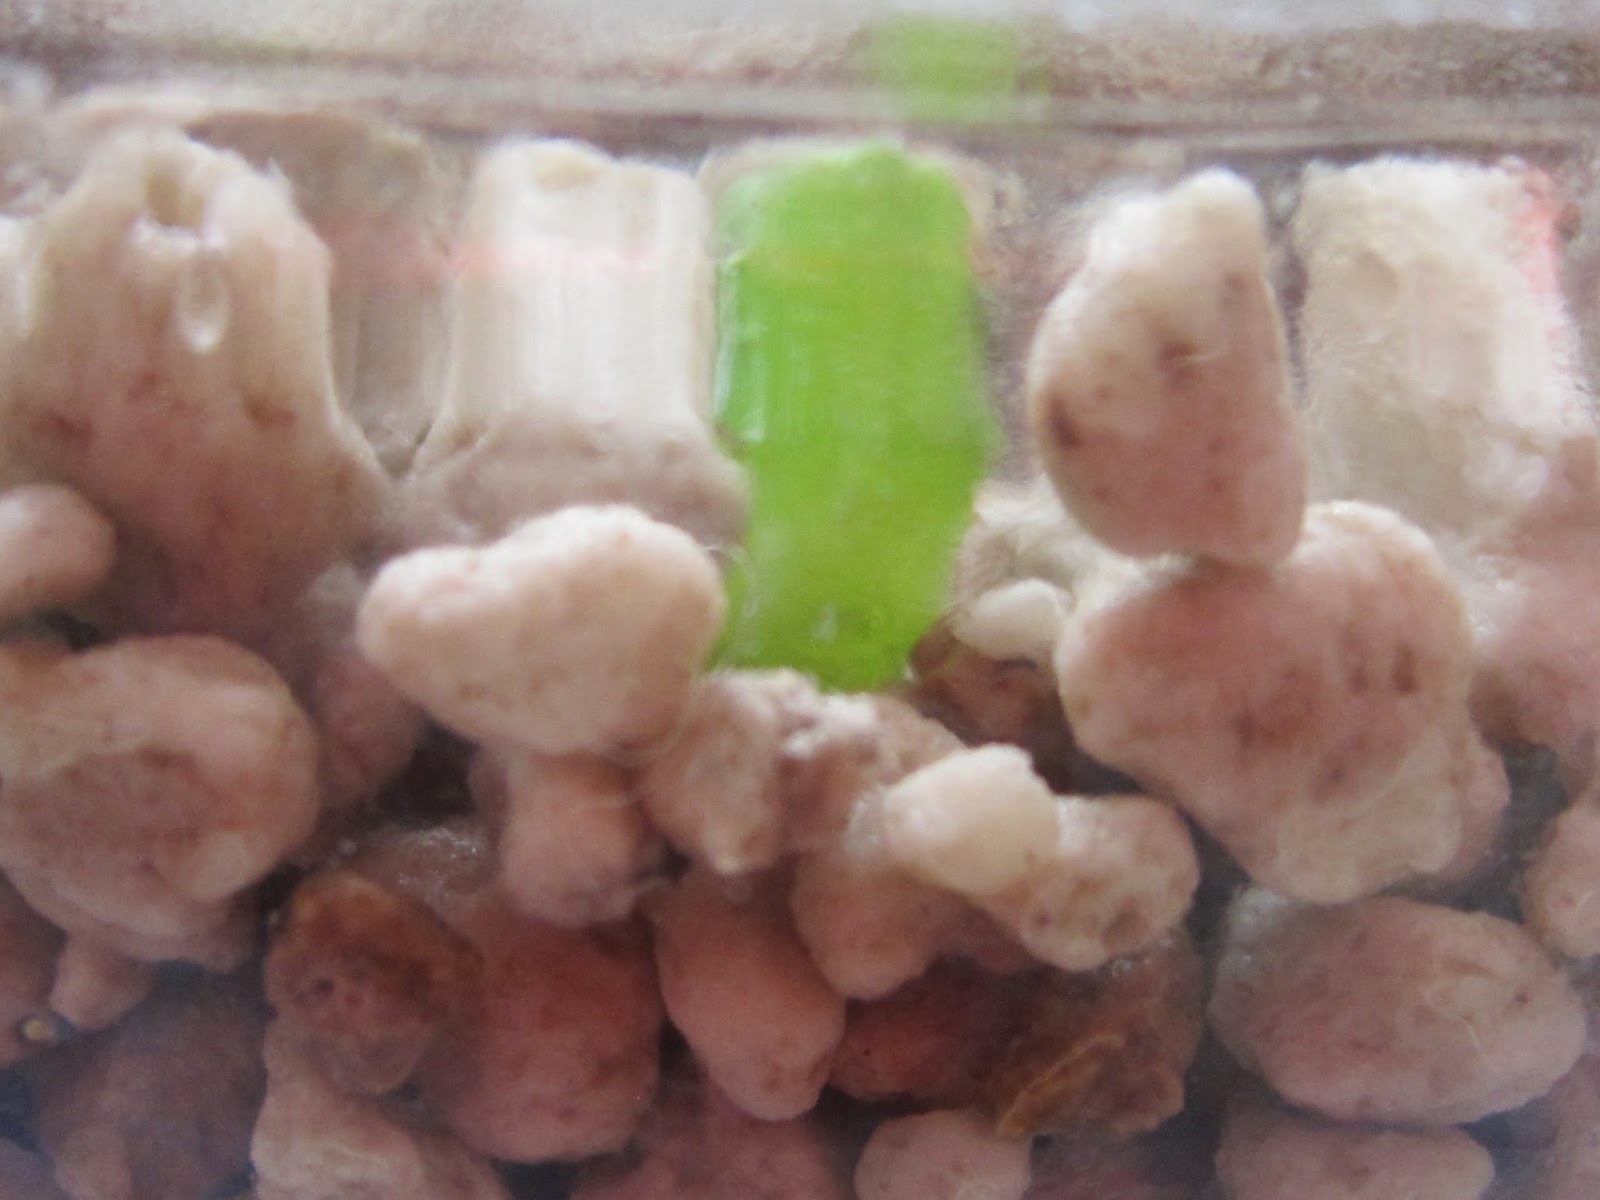
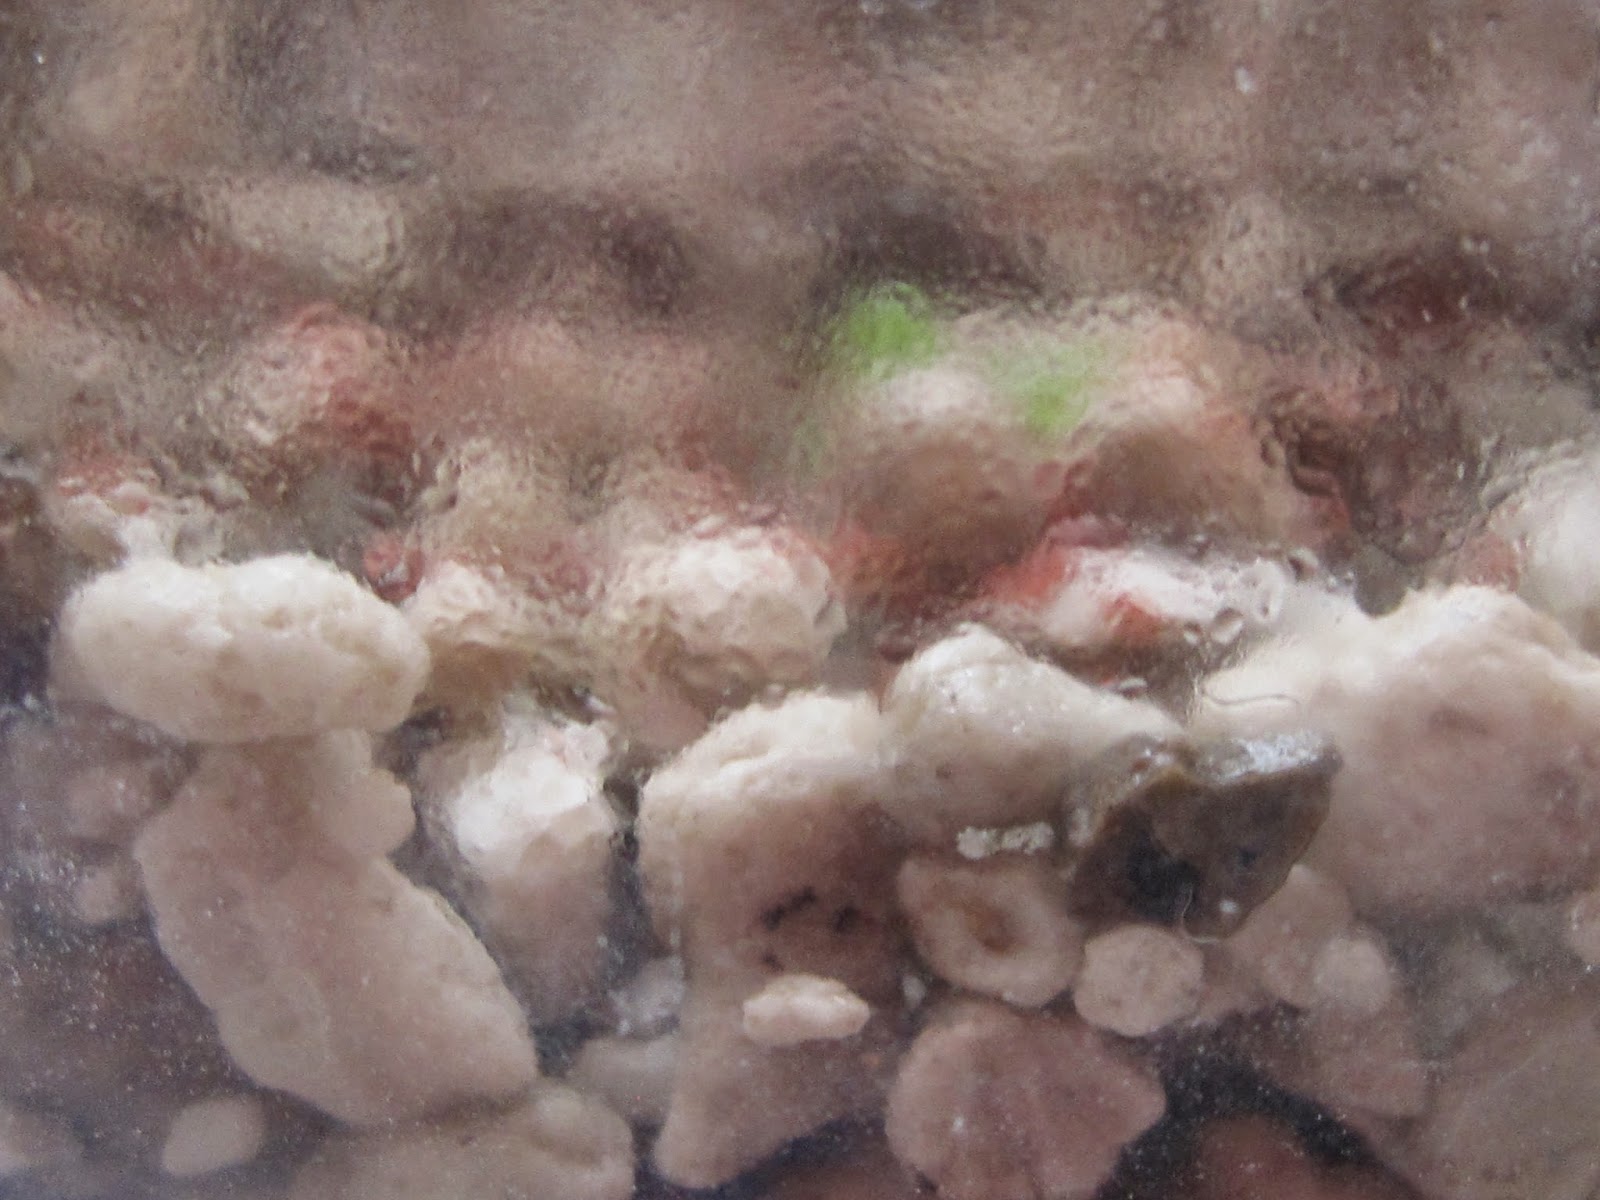
These are 2 x 100 seeds of COPIAPOA CINEREA from 2 different sources sown at the 1st of November 2014.

The glasses do get warmth from beneath and are standing close to the glass of a southern window. A piece of paper above the glasses do protect the young seedlings from the "hard" sun.

My substrate is a fine coarse granulate of pumice. The method been used for the sowing is the FLEISCHER METHOD.

The first seedlings came out of the seeds after 10 to 14 days. The germination rate for one glass is nearly 80 % and for the other one only 5 %.


17 November 2014

RESTING PERIOD 2014

BOWIEA VOLUBILIS has ended up its growing at the end of October 2014.

I allways remove the vines and shoots after the growing period. So this is like it looks like after "the cleaning".

Now I keep the bulb cool - 5 C to 10 C - and possibly on a sunny side of the window. But you may keep it in the dark too. That will be no problem at all. Then you only need to ensure the bulb may adapt to the sun in spring of the year to come.


18 September 2014

FLEISCHER METHODE

I will show you how I sow my succulent seeds. The method is well known as "THE FLEISCHER METHOD", named after a famous grower of succulents from czechia who lived in the last century.

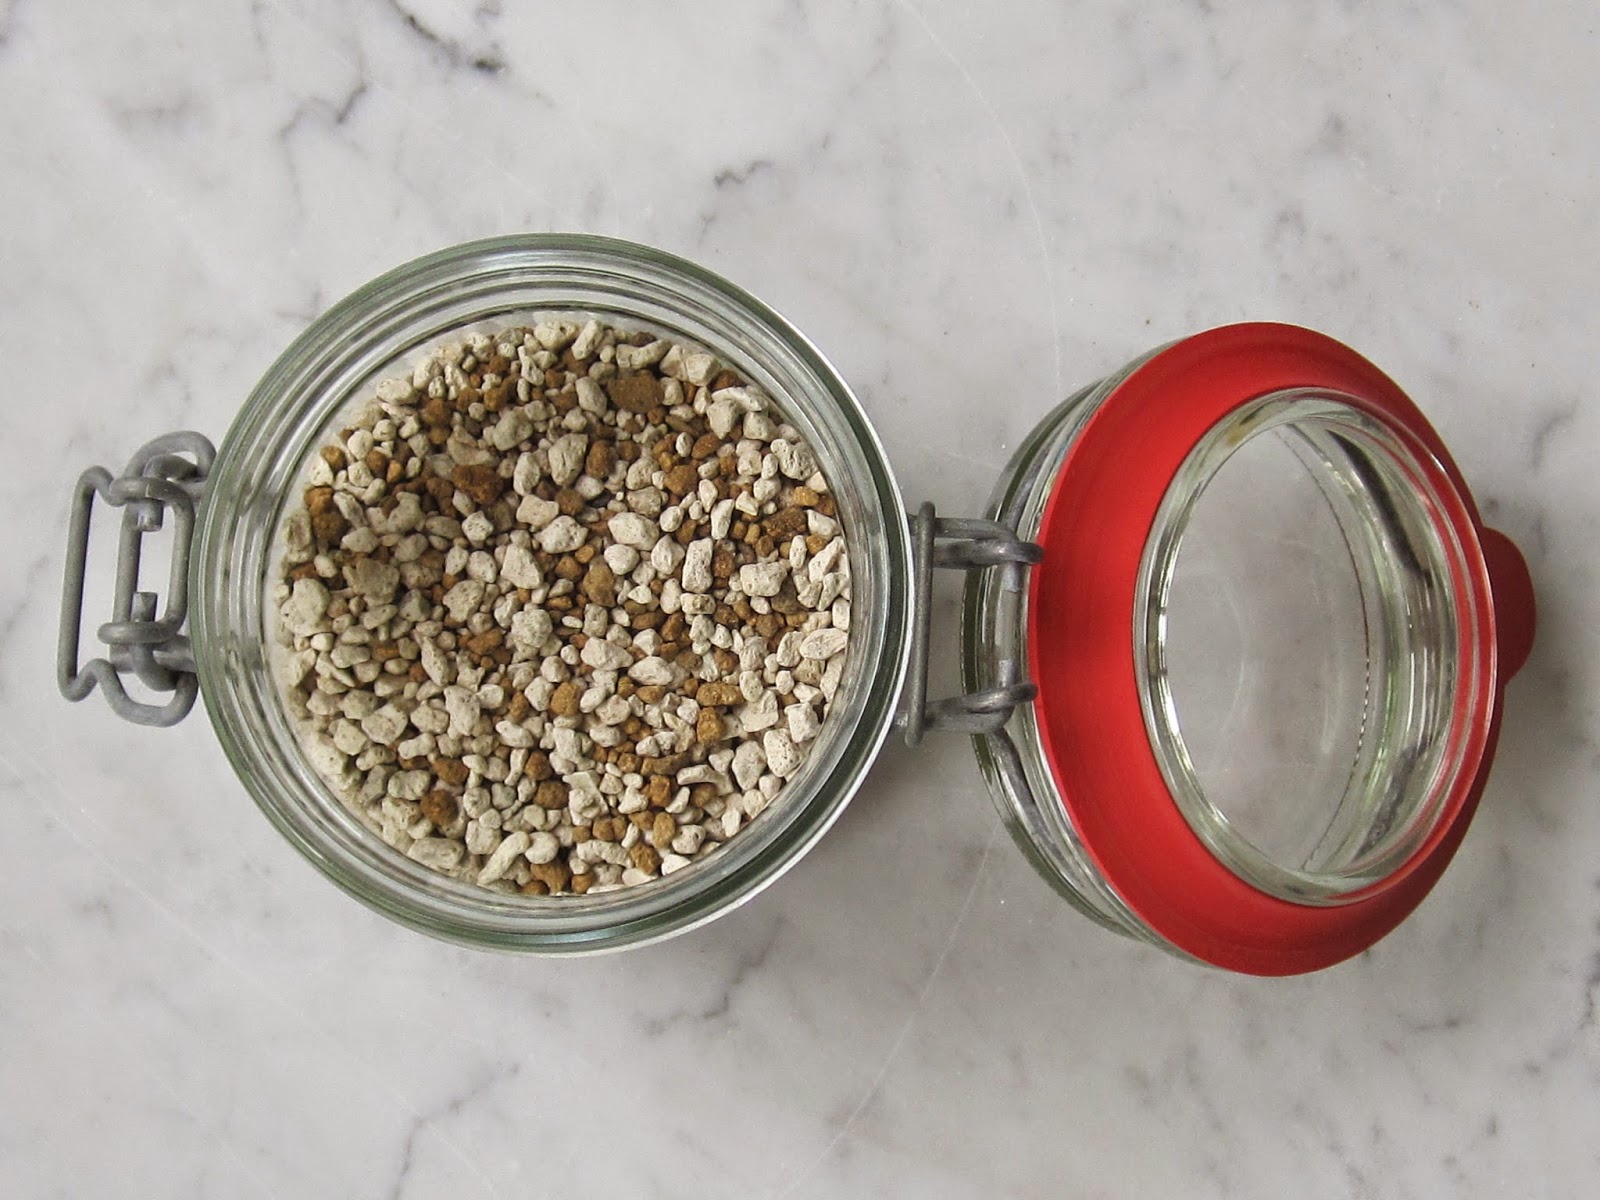
1.  the substrate

I use allways mineral earths and most preferably BIMS ( = pumice ) and LAVA. For sowing I take the very fine grade. You can see, looking at the ruler, the dimension in cm of the grains.


2.  the glass

I do use old honey or marmelade glasses which are all made of glass including the cover. So the seeds and seedlings will get the most possible light I can provide. The glasses will be filled up to one half or two thirds with the substrate.


3.  disinfection of seeds

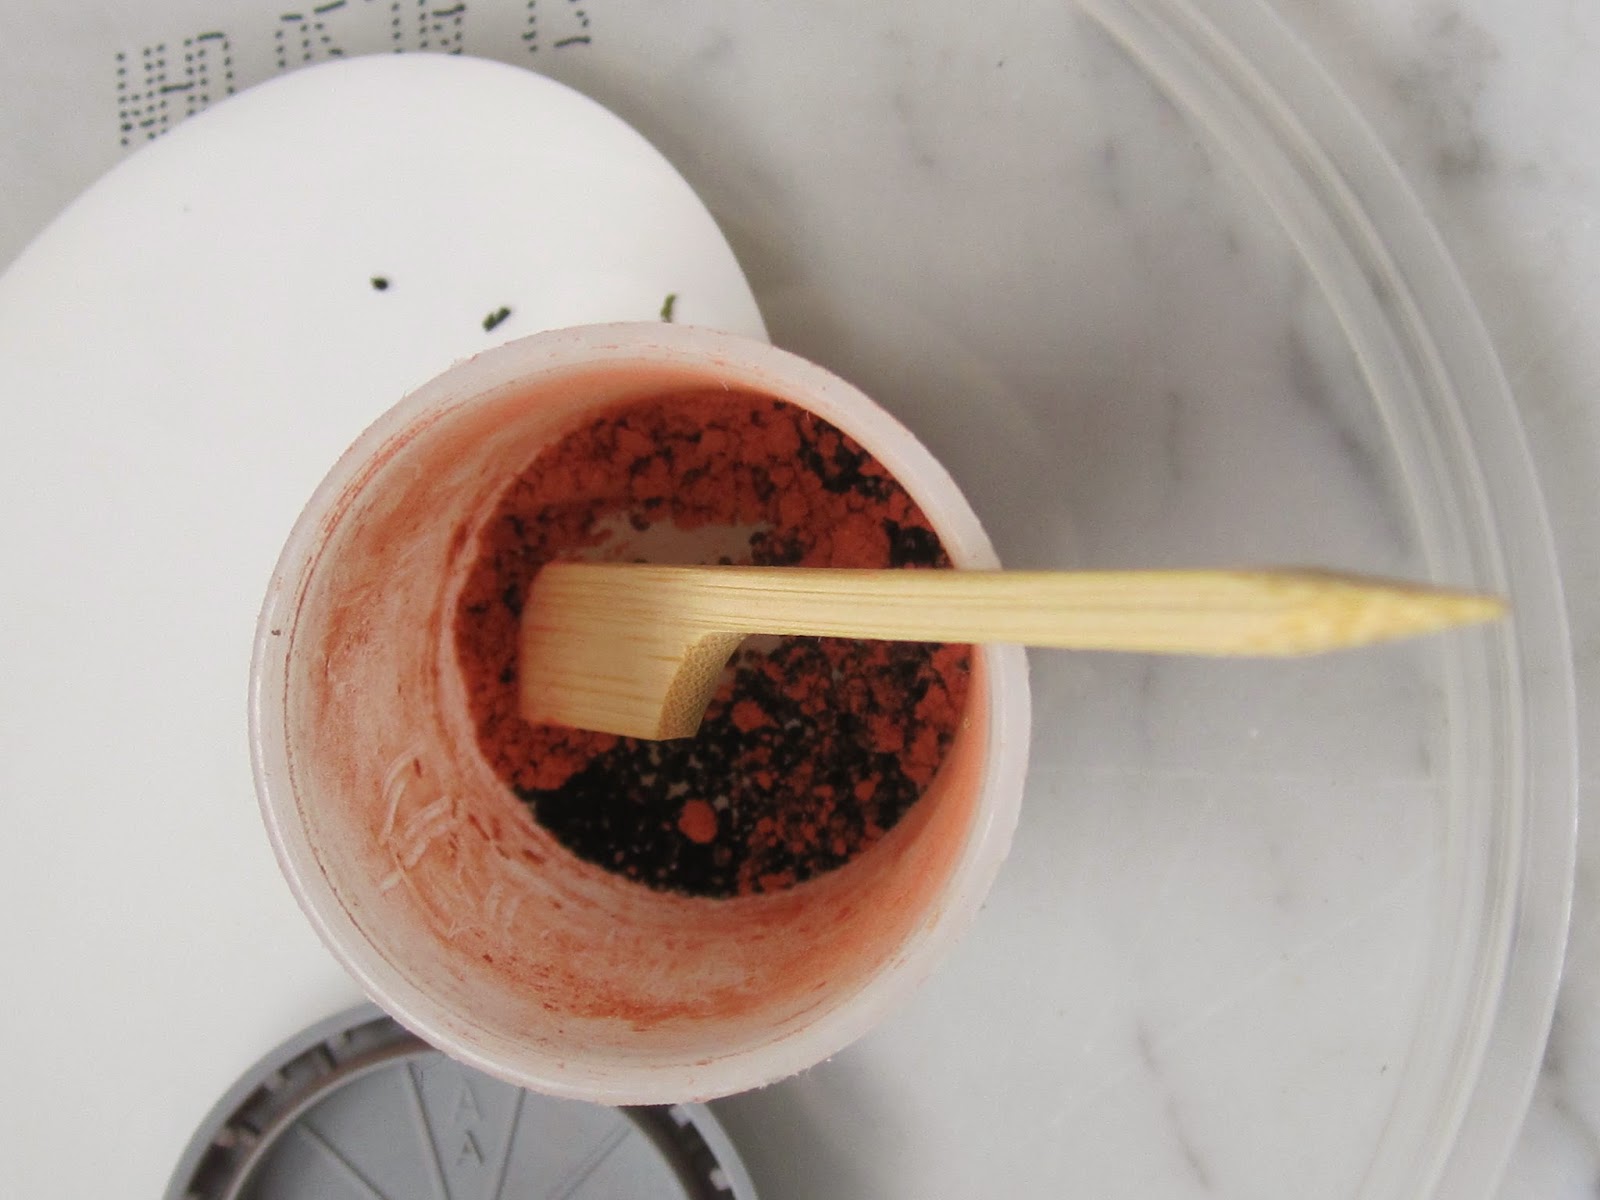
The treatment of the seeds will be done with AATIRAM, a fungicide powder. I use cups of photographic film rolls, add the seeds, add the powder and stir the whole mass with a tooth stick or brush or ...


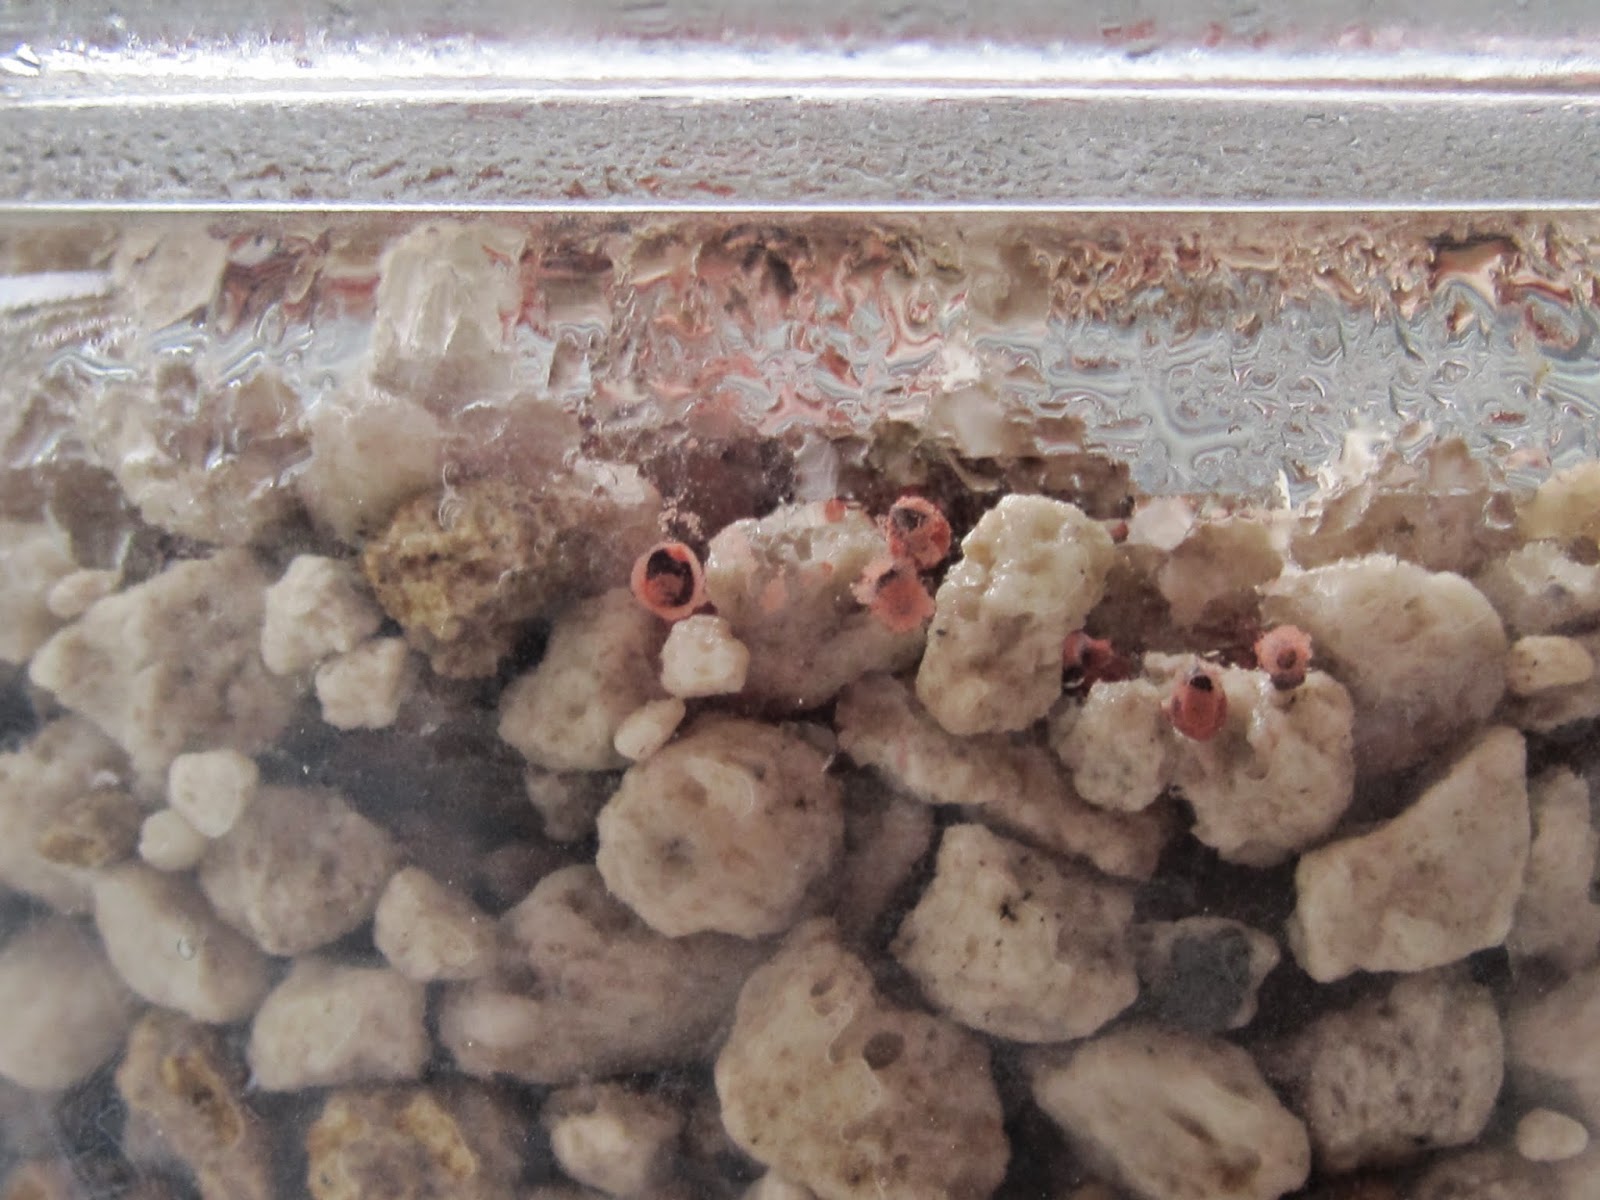
Here you can see the seeds - the black globules - and the red fungicide powder.


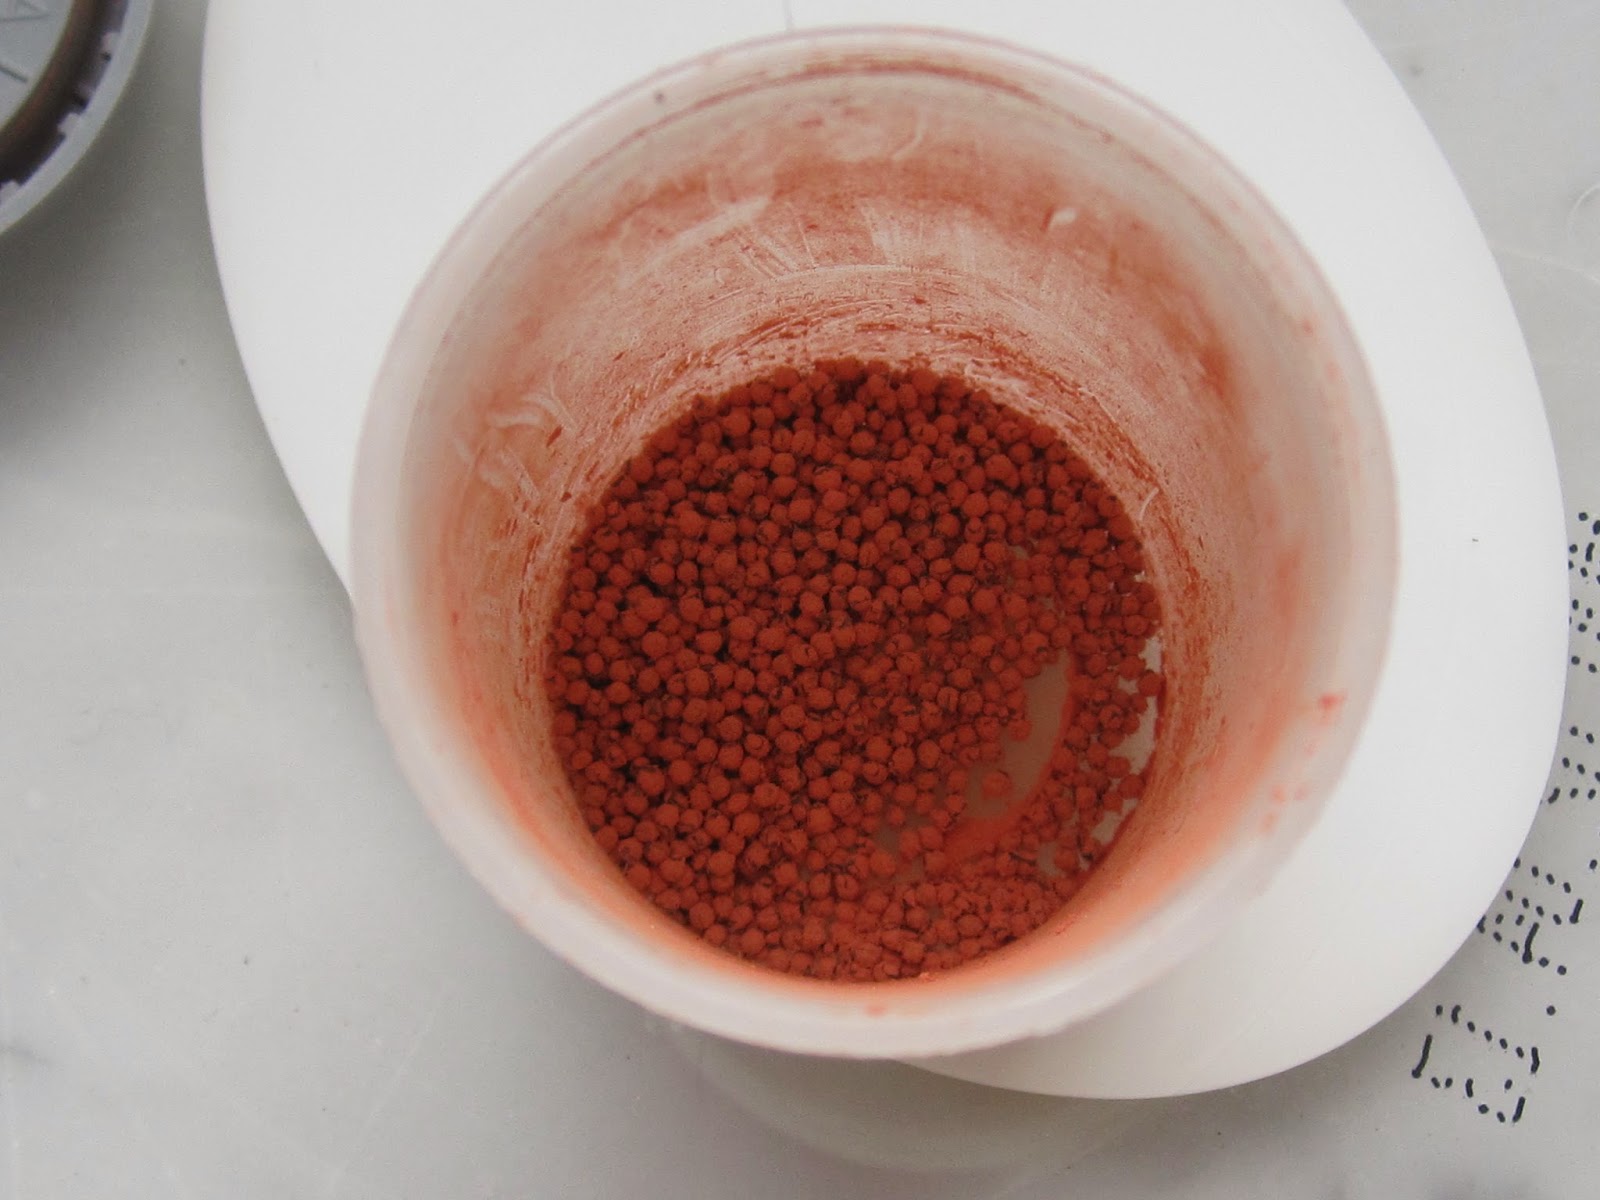
This is how the end product looks like. The black seeds are covered over and over with the red fungicide powder.

4.  sterilisation of the glass

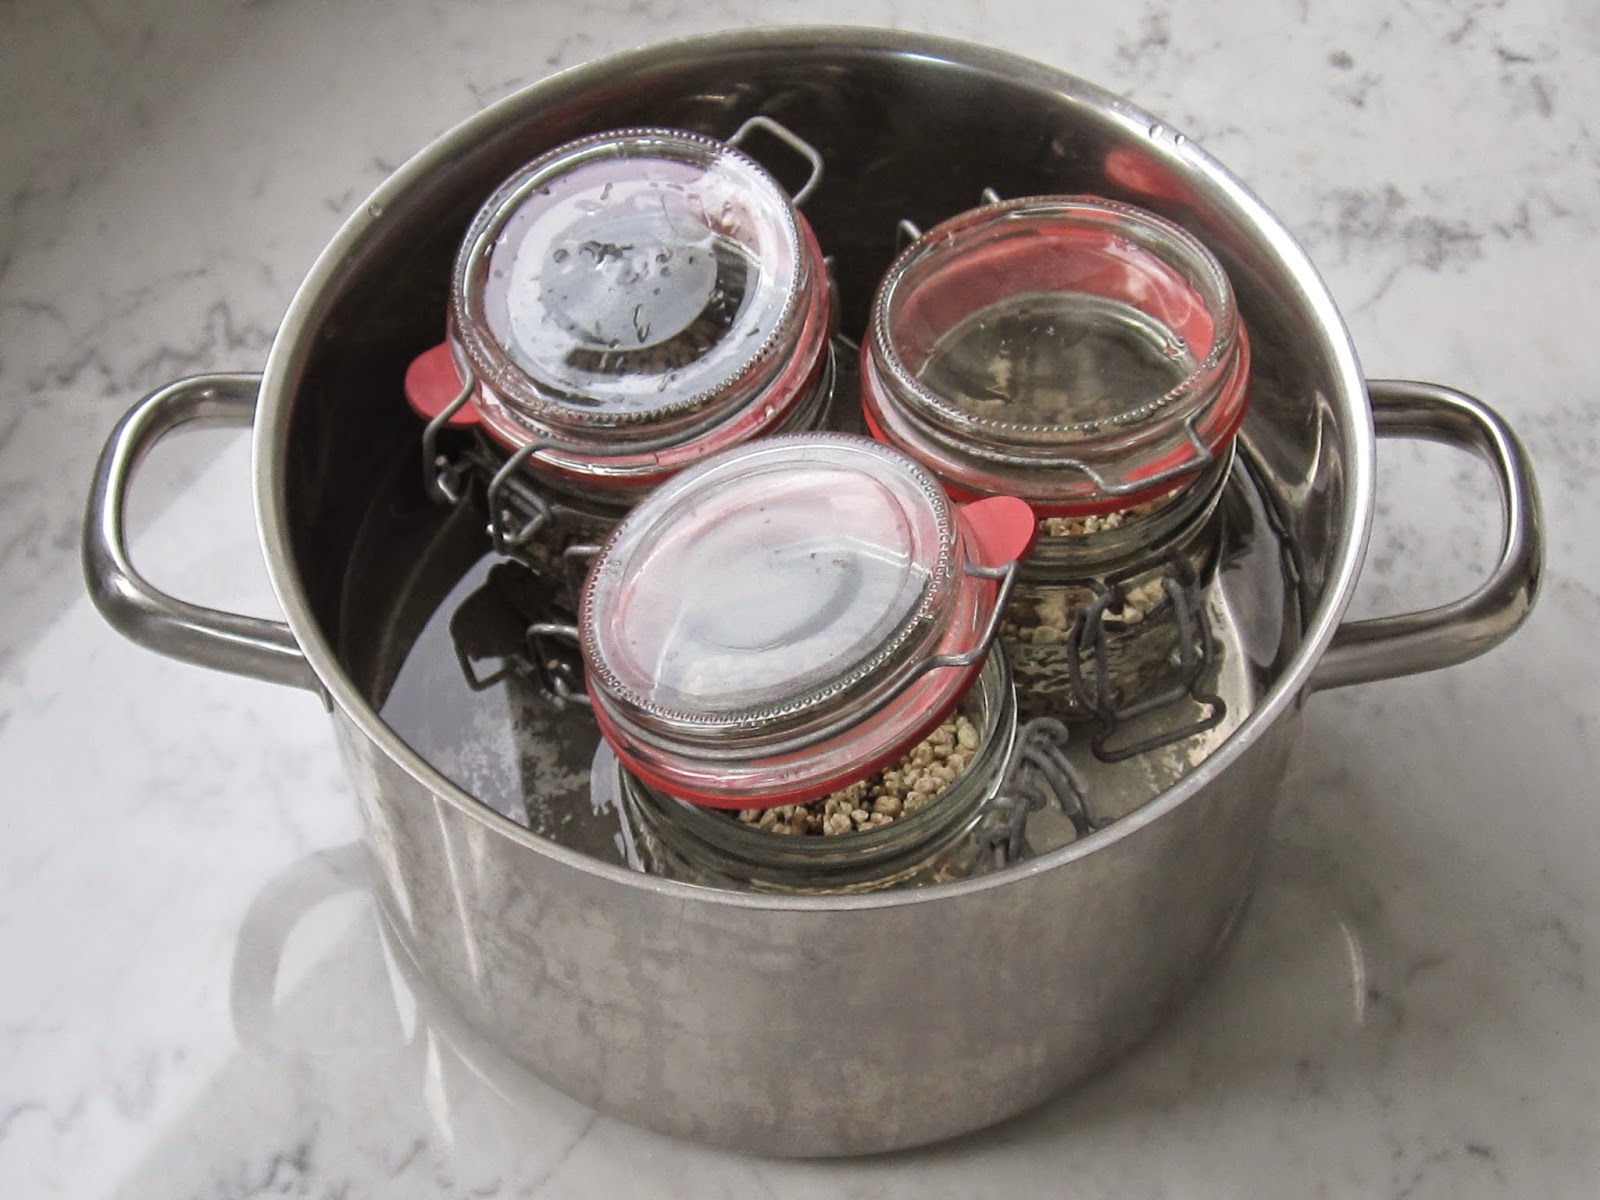
The glasses with the substrate - ¡ without the seeds ! - are placed into a cooking bowl or... Then the substrate is soaked with a solution of water and fertilizer - only a very very low concentration of fertilizer.
The glass covers are only loosely closing the glasses. ! NEVER NEVER NEVER close the glasses with their cover completely ! The trick is that the boiling water and hot humid air can reach every place of the glass surface and the substrate within the glass pot.
Lastly I close the cooking bowl or... with the cover and let it cook at 100 C for about 30 to 60 minutes. The time of cooking depends upon the former sterility of the substrate.

You can use a pressure cooker or an autoclave as well. Of cause the cooking temperature and the time needed will be reduced vastly.


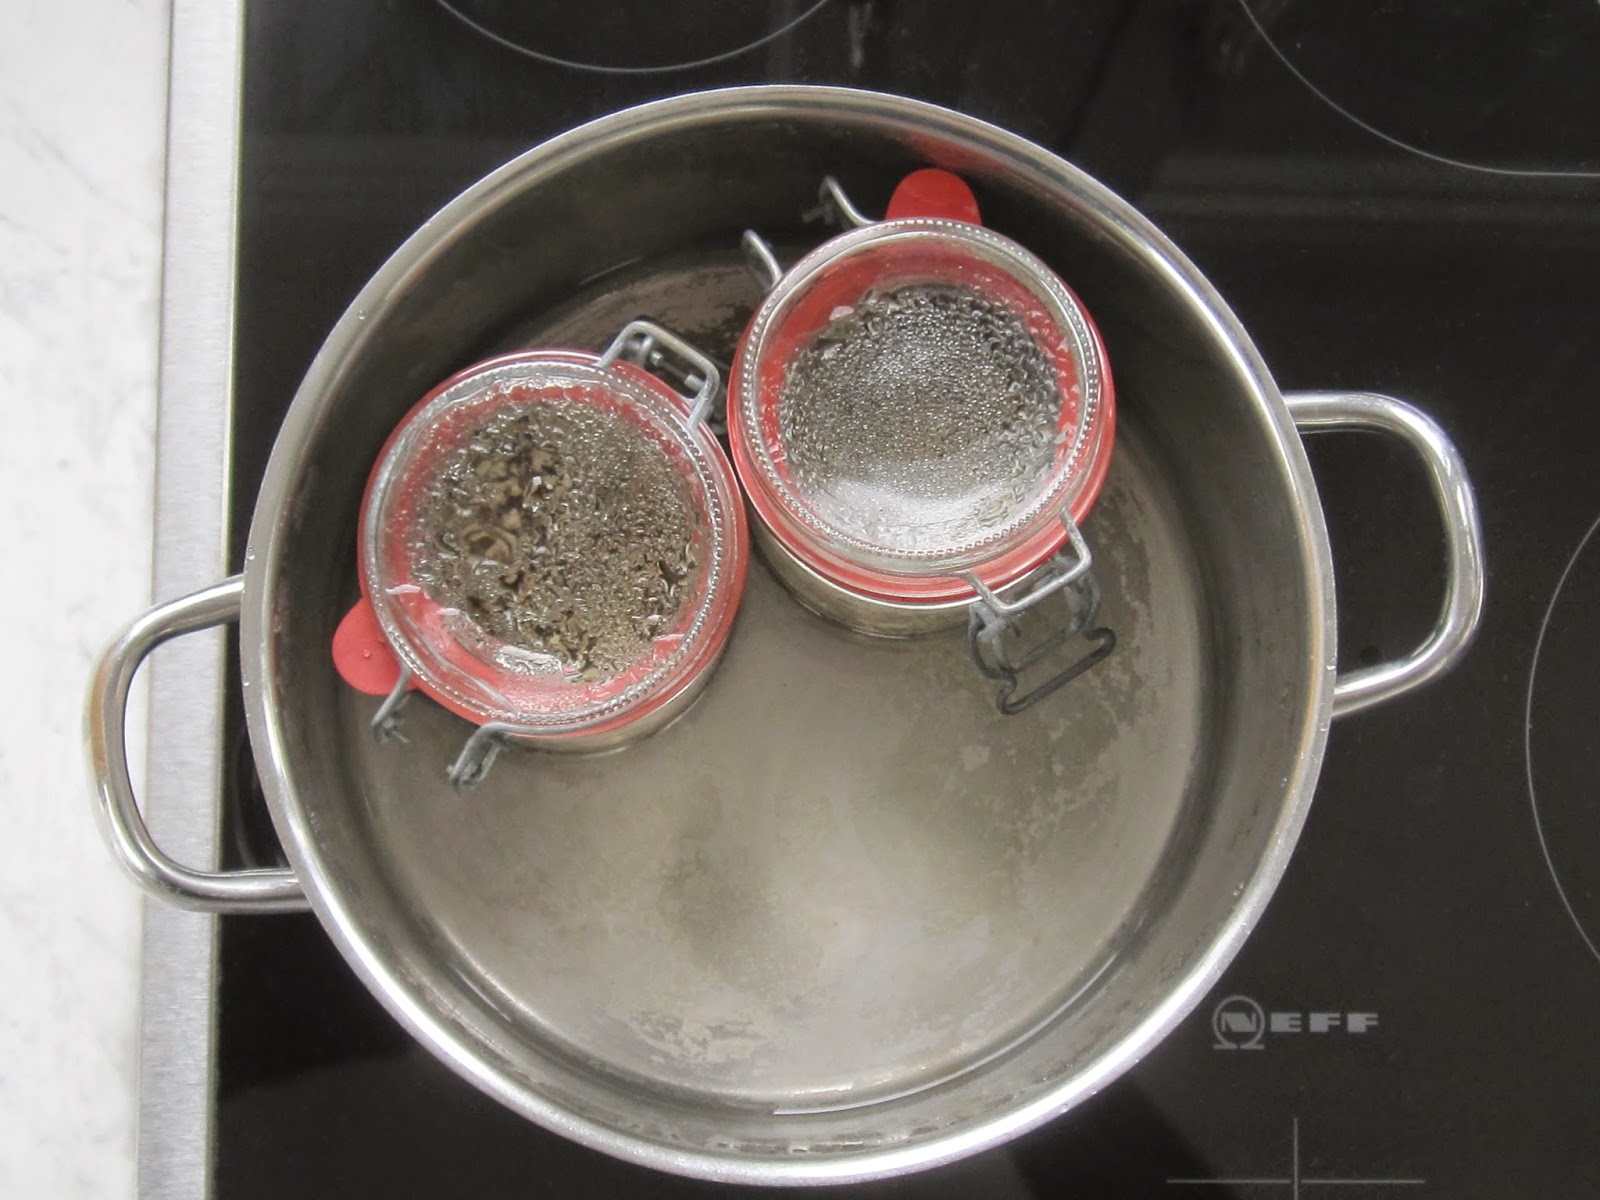
After cooking the glasses are looking like this...


5.  sowing the seeds

I let cool down the glasses until they do have hand temperature - 30 C to 20 C - and then fill in the treated seeds. Make sure that the seeds are spread equally above the whole surface of the substrate. Then I close the cover. At last I put them at a half shaded half sunny place.

FLOWERING AUGUST 2014

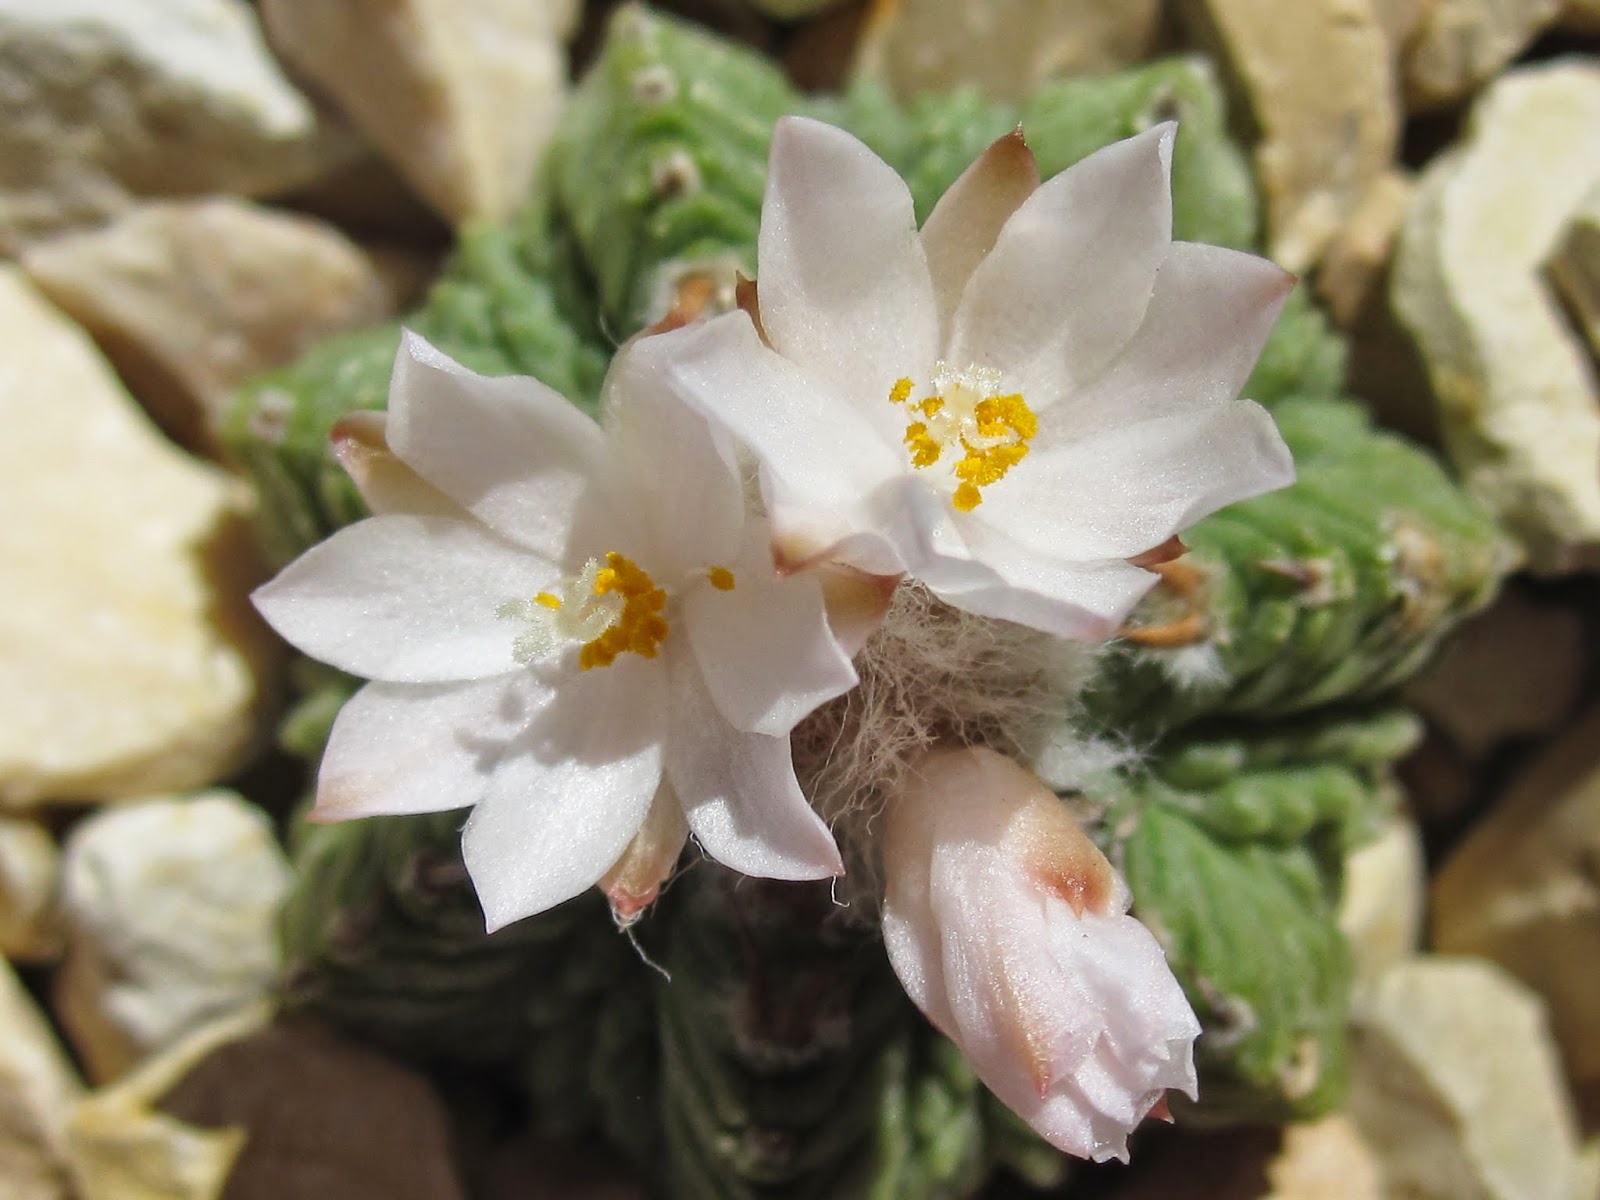
I have taken these photographs in August in the first week.

Flowering lasted around one week and the flowers opened in late morning and were closing in late afternoon. The scent of the flowers was sweet and delicate.


2ND FLOWERING SEPTEMTBER 2014

Here you can see new flower buds developping in the top of the plant. This is the second time of flowering in 2014.


GROWING SEASON STARTS...

It is the first week of September and the first buds and leaflets are sprouting.

Now I can start with watering. With lots of sun and warmth the growing will fasten and ¿ FOUQUIERIA COLUMNARIS ? will become a lovely little green bonsai again.


FLOWERING SEPTEMBER 2014

In the first week of September the flower bud could be seen for the first time. Now in the second week of September the bud opens. The flower opens in late morning and closes in late afternoon.


FLOWERING SEPTEMBER 2014

The bud of its flower was coming up in the second week of September and flowered until today.

Normally flowering should happen later in September and October, but this year winter has been no winter at all and spring began 4 weeks earlier. Consequently the whole cycle of plant life has been shifted 2 to 4 weeks earlier than its normal cycle.

The scent of the flower is sweet and delicate and not a very intense one.


GREENHOUSE

From time to time I make some experiments in sowing or cultivating in some other way as I normally do.

I have seen these big plastic bottles with water in the super market and came across the idea to use them as a greenhouse for the windowsill. I made a horizontal cut above the "bottom" but no holes into the "bottom". I filled the "bottom" with LAVA granulate and planted my 2 year old seedlings of UEBELMANNIA PECTINIFERA SSP PECTINIFERA VAR MULTICOSTATA  HU 362 into the substrate.

The plants are thriving in this tropical climate and I will try it with some other species as well. Maybe I will sow with this method too...?


FLOWERING SEPTEMBER 2014

In the first week of September new buds of the flowers could be seen in the center of the top of the plant.
Due to lack of sun and warmth they develop very slowly. This of cause is a tribute to my culture method as I do cultivate them outdoors. If you do have a greenhouse you could easily mimic desert conditions with more warmth and this would fasten the development of the flowers.


FLOWERING SEPTEMBER 2014

These LITHOPS started developing their flower buds in the first week of September. Now in the second week of September they opened the flowers in the late afternoon.


FLOWERING SEPTEMBER 2014

In the first week of September they formed their first buds. Now in the second week of September the are flowering in the late afternoon. The scent of their flowers is sweet and a little bit fable.